Hi there,
Welcome to our fourth tutorial about the Anviz CrossChex Cloud!
The main objective of this tutorial is to teach you how to add new devices to your CrossChex Cloud account.
First step is to evaluate if your existing device is compatible with the CrossChex Cloud software, for that, please consult our FAQ - What Models Support CrossChex Cloud System?
If your device is not in that list, but you still have doubts about its compatibility, don’t hesitate asking us at the comments on this topic, or feel free to send us an e-mail to support@anviz.com
IMPORTANT: If your device is already been used by another software, for example, CrossChex Standard, please make a backup of all the enrolled employees and records at a CrossChex Standard database.
Once you have all the users and records information at CrossChex Standard, you can use our FAQ teaching How to Transfer Data from CrossChex Standard to CrossChex Cloud
This is important to be done before adding an already operational device to your Cloud account, because once the device is connected with your account, it will automatically erase all the enrolled users , and synchronize with the already existing users on your CrossChex Cloud account (which will be already there after the migration proceed at the shared FAQ).
So please be careful avoiding losing information from your team, especially considering if you have hundreds or thousands of employees already enrolled.
If you´re adding a brand-new device with no users or records in it´s memory, you can start directly from here.
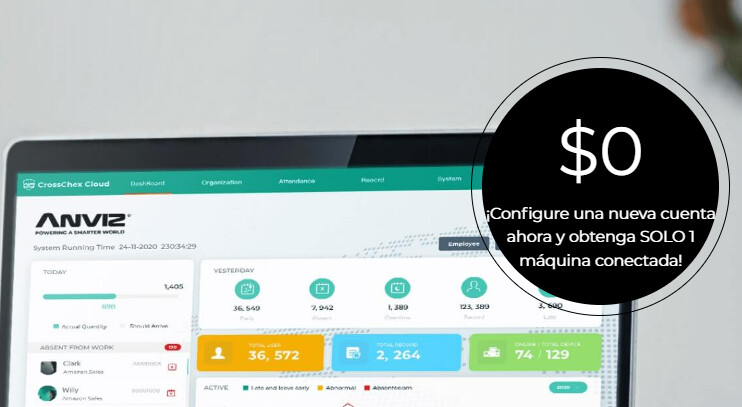
After creating a new account and configure the pre settings company page, you will be signed in at the main page, the Dashboard . At the top bar, click Settings . At the Settings page, please make a note of your Company ID number, as well as your Cloud Password. We´ll need this information when configuring the device internal settings.
Your Company ID is fixed and cannot be modified anytime. Feel free to change the Cloud Password anytime, but be aware that whenever you change it at your account, you´ll need to change it manually at the device settings, which will be explained in the next steps:


Let´s get hands on our Anviz hardware now. We will use a FaceDeep 3 for our tests, don´t worry if you have another compatible device, the proceed is the same.
To move forward, we´re assuming that your device is already connected at your local network, and your network has access to the internet. If your device is not connected yet, please check your device manual at the communication guide.
I´m sharing some FAQs of our FaceDeep 3 as reference, they can help you with that as well:
FAQ - How to Connect FaceDeep 3 Through Network Cable.
FAQ - How to Connect FaceDeep3 Through Wi-Fi.
- Access your device menu and click Network at the Main Menu:

- Choose Cloud icon now:

- At the Cloud filed we will input our cloud account information, let´s check it step by step:

User: It´s our Company ID number, shared at the second picture of this tutorial. In this example, we´ll insert “10000404” there.
Password: It´s our Cloud Account password, also shared in the second picture. In our example, we´ll insert “123456” there.
Server IP: A very important field, when clicking at this field you will see many options:
US-Server, CHINA Server, ASIA Server, EU-Server, Manual Input.
If your cloud account was made at North America Server (https://us.crosschexcloud.com/), please choose US-Server .
If your cloud account was made at Chinese Server (https://cn.crosschexcloud.com/), please choose CHINA Server .
If your cloud account was made at Asia Pacific Server (https://ap.crosschexcloud.com/), please choose ASIA-Server .
If your cloud account was made at European Server (https://eu.crosschexcloud.com/), please choose EU-Server .
If you cannot find your proper option at your device Server IP field, there´s a big probability your device is not upgraded to its last firmware version. We have two options in this case, Submit a Trouble Ticket to Anviz technical support for a firmware upgrade request, informing your existing device and current firmware version, or we can type the server manually by choosing Manual Input.
When manual input is chosen, a new field named Input IP will appear. Please fill it manually with the following address, according to your cloud account server option:
North America Server: device.us.crosschexcloud.com
Chinese Server: device.cn.crosschexcloud.com
Asia Pacific Server: device.ap.crosschexcloud.com
European Server: device.eu.crosschexcloud.com
After inserting all information correctly click Network Test . The device will check all the parameters step by step, and if everything is fine, the test will complete with 100% on all topics:

You´ll also be to see the Cloud Icon at the top left display of your device. Here is an example of my own device test:

Sometimes the tests gave 100% at all aspects, but the Cloud Icon is not activated immediately, on such cases, please plug your device out of the power supply, wait for a few seconds and then plug it again, the device will scan the network settings and enable the Cloud Icon automatically.
Now your device is already connected and you´ll be able to see it at the Device Tab inside Organization menu ![]()

Reminding it´s vey important to understand how the CrossChex Cloud logic works between locations, users and devices .
If you intend to have two or more devices at your Cloud Account, we suggest you to read our post CrossChex Cloud #3 - Department Management.
Feel free to share your connectivity experiences here, and don’t hesitate contact us if you still need support. Enjoy your CrossChex Cloud!